The installation of integrated ceilings involves various pipeline problems between kitchens and toilets, so special attention is required. The following ceiling installation masters show us the whole process of ceiling installation. Although there are only six steps, it is important to remind consumers to pay special attention to the sequence. , otherwise it will definitely not achieve the most satisfactory results.
Something we must know before installing ceilings!
1. First install the cabinet or first install ceiling?
The wall tiles can be attached to the ceiling, and the ceiling is installed in the cabinet, because the level and height of the cabinet are determined according to the ceiling.
2. How often is the ceiling from the roof high?
Between 20~25cm in the kitchen and between 25~30cm in the bathroom, as long as it can effectively seal the above pipeline, there can be enough space discharger, then the ceiling should try to lift the high point and leave more space for life.
3. The kitchen bathroom needs to line a few lines?
<1>.Kitchen room: Arba row 2 lines, LED lights row 1 line (single switch switch a line).
<2>.Bathroom: Yuba row 6 fire line 1 neutral (5-switch) LED lamp row 1 line (separate switch).
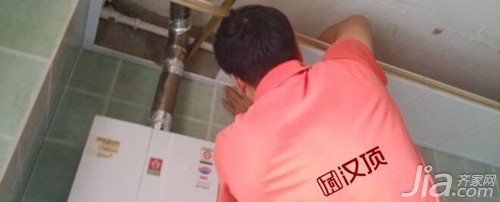
4. Do I need to pre-bury the pipe before installing the ceiling?
It is necessary to pre-bury the hood duct before installing the ceiling.
>>>The following is the ceiling installation steps
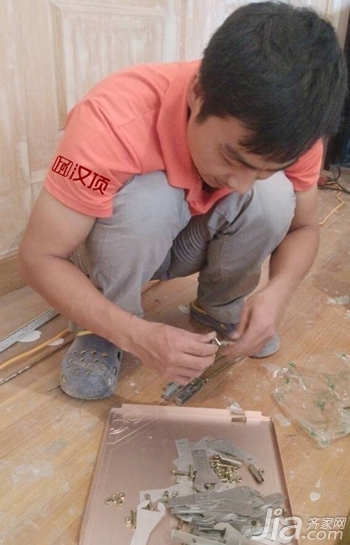
Preparation tools
1. Prepare various tools required for ceiling installation.
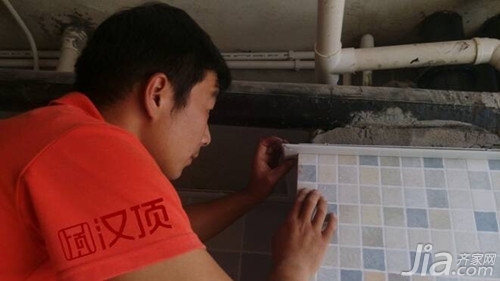
Install ceiling line
2. Determine the installation height and install the ceiling receiving line. The installation of the corner line will determine the installation height and level of the ceiling.
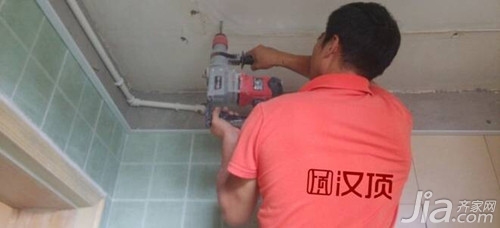
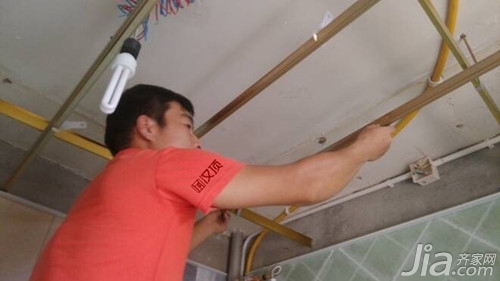
Install expansion tube
3. Install the expansion pipe and determine the force point. The six screws will take the weight of the entire integrated ceiling. First, measure the size on the ceiling, drill the screw into the expansion pipe, and connect the screw with the ceiling to install the entire ceiling. For benchmarking, the screws must be perpendicular to the ceiling and securely fastened, and each screw must remain parallel. In general, only six screws are needed at the top, which makes the whole ceiling very strong.

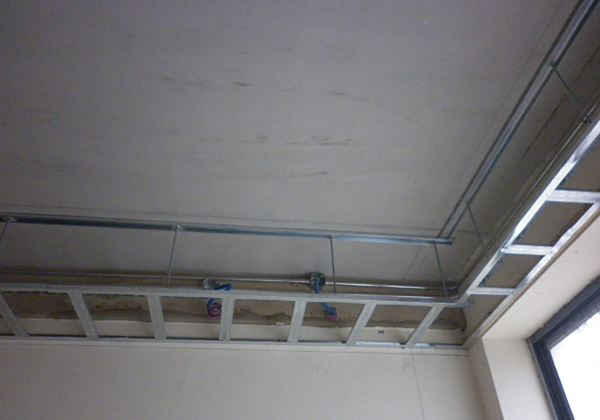
Main and auxiliary keel installation
Main and auxiliary keel installation
4. The installation of main and auxiliary keels. The keel is the basis for the buckle plate and electrical installation. The first is the connection and installation of the main keel and the big hanging piece. The main keel is stuck on each large hanging piece. The main keel is selected and intercepted according to the space size. keel. After the main keel is stuck in, check whether the main keel installed is parallel. If it is not parallel, adjust it in time. Followed by the connection between the triangular keel and the main keel. According to the number of the main keel, the triangle hanging piece is put into the triangular keel, the triangular hanging piece is fixed on the main keel in turn, and the distance between the triangular keel is fixed to 300 mm and fixed. .
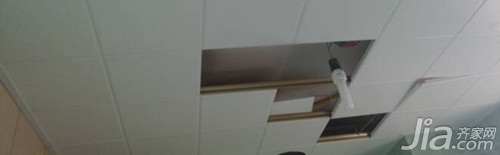
Buckle plate installation
5. The installation of the gussets is particularly important for the installation of the first row of gussets. After the keel has been set up and the hood is ready, the gussets can be installed.
Electrical installation
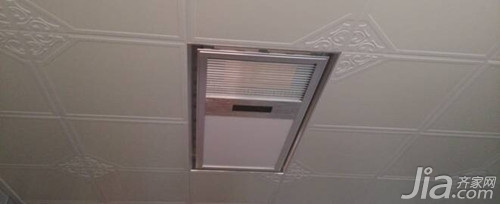
Electrical installation
6. For the installation of electrical appliances, the electrical appliances are heavier than the buckles, so the machine screw is required to be fixed. The required height of the electrical appliances must be left before installing the electrical appliances. According to the design drawings, confirm the accurate host installation position, and then begin to install electrical equipment.
>>>Ceiling Installation Notes
Before installation: Before installing the ceiling, first make sure that there is no water leakage in the place where it needs to be installed, and ensure the smoothness of the circuit and other infrastructure; secondly, predict the height of the room after installation is convenient for the installation of the corner line; then, check What is the strength of the place to be installed? If the strength does not meet the requirements, reinforcement measures are required.
During installation: The installation spacing and connection method of the suspenders and keels shall meet the design requirements; metal hangers, keels, and post-buried parts shall be treated for anti-corrosion or anti-rust treatment; wooden hangers, wooden keels, styling wood and wooden ornaments Surface materials should be treated with anti-corrosion, fire prevention, and anti-smashing treatment; nail heads exposed on the paper plaster board should be anti-rust paint; try to avoid potential safety hazards caused by unreasonable installation or leakage of the brush.
After installation (at the time of acceptance): The type, specification, color of the materials used in the ceiling project shall be in accordance with the design and related specifications; the cover panel and the keel shall be closely connected, the surface shall be smooth, and shall not be contaminated or fractured. Missing school angles, hammers and other defects; joints should be uniform, there must be no delamination layer pasted panel, plywood shall not be through the place; Shelving cover panel may not have leakage, angle phenomenon; ceiling cover panel project Allowable quality deviation.
Editor 's note : Regarding the steps and precautions for installing the ceiling, it is introduced here today. Although everyone installs the ceiling, please ask the master to install it. However, the owners cannot know anything about this and know more about it. Not easy to be fooled! If you do not understand anything, you can leave a message asking questions! We will answer you as soon as possible! Want to know more decoration knowledge, you can pay attention to Qijia decoration college hall!
Ceiling Ceiling Mounting Integrated Ceiling Electrical Switch Space Room Kitchen Integrated Ceiling Kitchen Wall Tile Kitchen Cabinet Door Kitchen Bathroom Ceiling Bathroom Wall Tile Bathroom Size Bathroom Design Drawings Bathroom Design
Aluminum Casting Auto Parts,Aluminum Auto Parts,Aluminum Spare Auto Parts,Heavy Truck Auto Parts
NINGBO AIKEHAN METAL PRODUCT CO.,LTD , http://www.diecastingsupplier.com